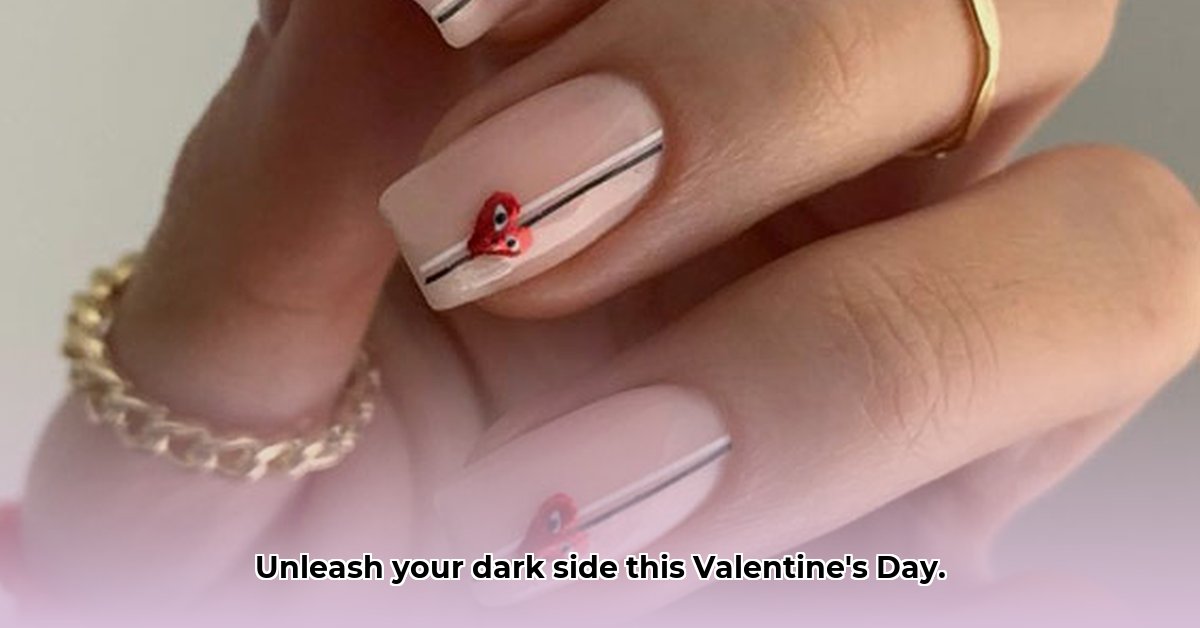
Ready to ditch the predictable pink and hearts this Valentine's Day? This year, romance gets a seriously chic upgrade with dark Valentine's Day nails! Forget sugary-sweet; we're diving headfirst into a sophisticated, mysterious vibe. Think rich burgundies, inky blacks, and glamorous metallic accents – a modern twist on traditional Valentine's Day nail art. We've got easy-to-follow tutorials for every skill level, plus product recommendations to help you create the perfect darkly romantic manicure. Get ready to unleash your inner goth goddess!
The Allure of Dark Romance: Beyond the Usual Valentine's Day Nails
This isn't your grandma's Valentine's Day manicure. We're talking a total style shift – a move away from pastels and towards a darker, more dramatic palette. This trend empowers you to express your unique personality without adhering to typical holiday expectations. Isn't that exciting?
This year, it's less about cutesy hearts and more about expressing your inner rebel. Intrigued? Let's explore the possibilities!
Dark Valentine's Day Nail Colors and Designs: Unleash Your Creativity
The color possibilities are endless! Deep jewel tones, like burgundy and crimson, are perfect for a sophisticated look. Black is a classic choice, creating a dramatic backdrop for stunning embellishments. Silver and gunmetal accents add a touch of edgy glam, while gold offers a warmer, luxurious feel. Experiment with different textures – matte for a velvety touch or glossy for a high-shine finish. Glitter adds extra sparkle and dimension. Did you know that matte black nails are trending for their elegant sophistication?
Design-wise, think outside the traditional heart. Subtle lace patterns, gothic-inspired details, or minimalist geometric shapes can all create a stunningly romantic, yet dark, aesthetic. Or, let your imagination run wild and create something entirely unique!
Step-by-Step Nail Art Tutorials: For Every Skill Level
Here are a few design ideas to get your creative juices flowing. These are just starting points; feel free to personalize them and make them your own!
Beginner-Friendly: Red Rhinestone Accent Nails
- Prep: Begin with a base coat (a clear protective layer) to protect your nails and improve polish adhesion.
- Base Coat: Apply two coats of your favorite black nail polish, ensuring each coat is completely dry before applying the next.
- Add Sparkle: Carefully place small red rhinestones in a linear pattern down the center of each nail. Use a toothpick or tweezers for precise placement.
- Seal it In: Finish with a top coat (another layer of clear polish) to secure the rhinestones and add a glossy shine. This step increases the manicure's longevity.
Intermediate Challenge: Burgundy Gradient with Silver Glitter
- Base Coat: Apply a base coat.
- Gradient Time: Using a makeup sponge, blend burgundy and black nail polish to create a gradient effect. Start with more black at the base of your nail and blend into burgundy at the tip.
- Glitter Glam: While the polish is still wet, sprinkle fine silver glitter over the nails, concentrating on the tips for added drama.
- Top Coat Protection: Finish with a top coat for a flawless, long-lasting finish. A top coat seals in the glitter, preventing it from shedding.
Advanced Nail Art: 3D Floral Design with Deep Red
This design requires more skill and precision, but the results are breathtaking.
- Deep Red Base: Apply a deep red base coat and let it dry thoroughly.
- Sculpting Flowers: Use acrylic or gel to sculpt small, delicate 3D flowers. Numerous online tutorials can guide you through this technique.
- Placement: Carefully place the 3D flowers on your nails, perhaps concentrating on one or two accent nails.
- Fine Details: Use a fine nail art brush to add details to the flowers, enhancing realism.
- Protective Top Coat: A top coat protects your 3D art and adds shine, significantly extending the life of your manicure.
Product Recommendations: Essential Tools and Polishes
To achieve these looks, you'll need a few key items: a high-quality base coat and top coat, black nail polish, deep red polishes (burgundy and crimson are excellent choices), metallic polishes (silver and/or gold), rhinestones, fine glitter, and a detailed nail art brush. These can be found at most beauty supply stores and online retailers.
Long-Lasting Manicures and Safe Removal: Keeping Your Nails Happy
To keep your dark Valentine's Day nails looking their best, apply a fresh top coat every few days. This protects the design and maintains shine. When it's time for a change, use an acetone-based remover; never peel or rip off your polish – this damages your natural nails.
Unleash Your Inner Artist: Share Your Dark Valentine's Day Creations
This Valentine's Day, celebrate your unique style with a darker, more dramatic manicure! Experiment with different colors and designs, and most importantly, have fun! Don't forget to share your stunning dark Valentine's Day nail art on social media using #DarkValentinesNails – we'd love to see your creations!